Here is a little something I made to keep my jewelry organized. It is not much but it has made finding a necklace so much easier.

This is what my Drawer Used to look like
But with a few materials around the house it now looks a million times better.
Things you will need:
1 Fruit Snack Box or equal to
Scissors
Cute Craft Paper
Tape Measure
Tape
Pen or Pencil To mark with

Step 1
Measure The box you will be using Length and Width.
My box Length 7 1/2"
My Box Width 5 1/2"
Next you need to Measure out and cut strips of card board to fit inside box.


Keep in mind that the number of cardboard pieces you have increases the
number of jewelry place you have available. For example:
3 cardboard= 4 sections
4 cardboard= 5 sections
ETC.....
When finished you should have this
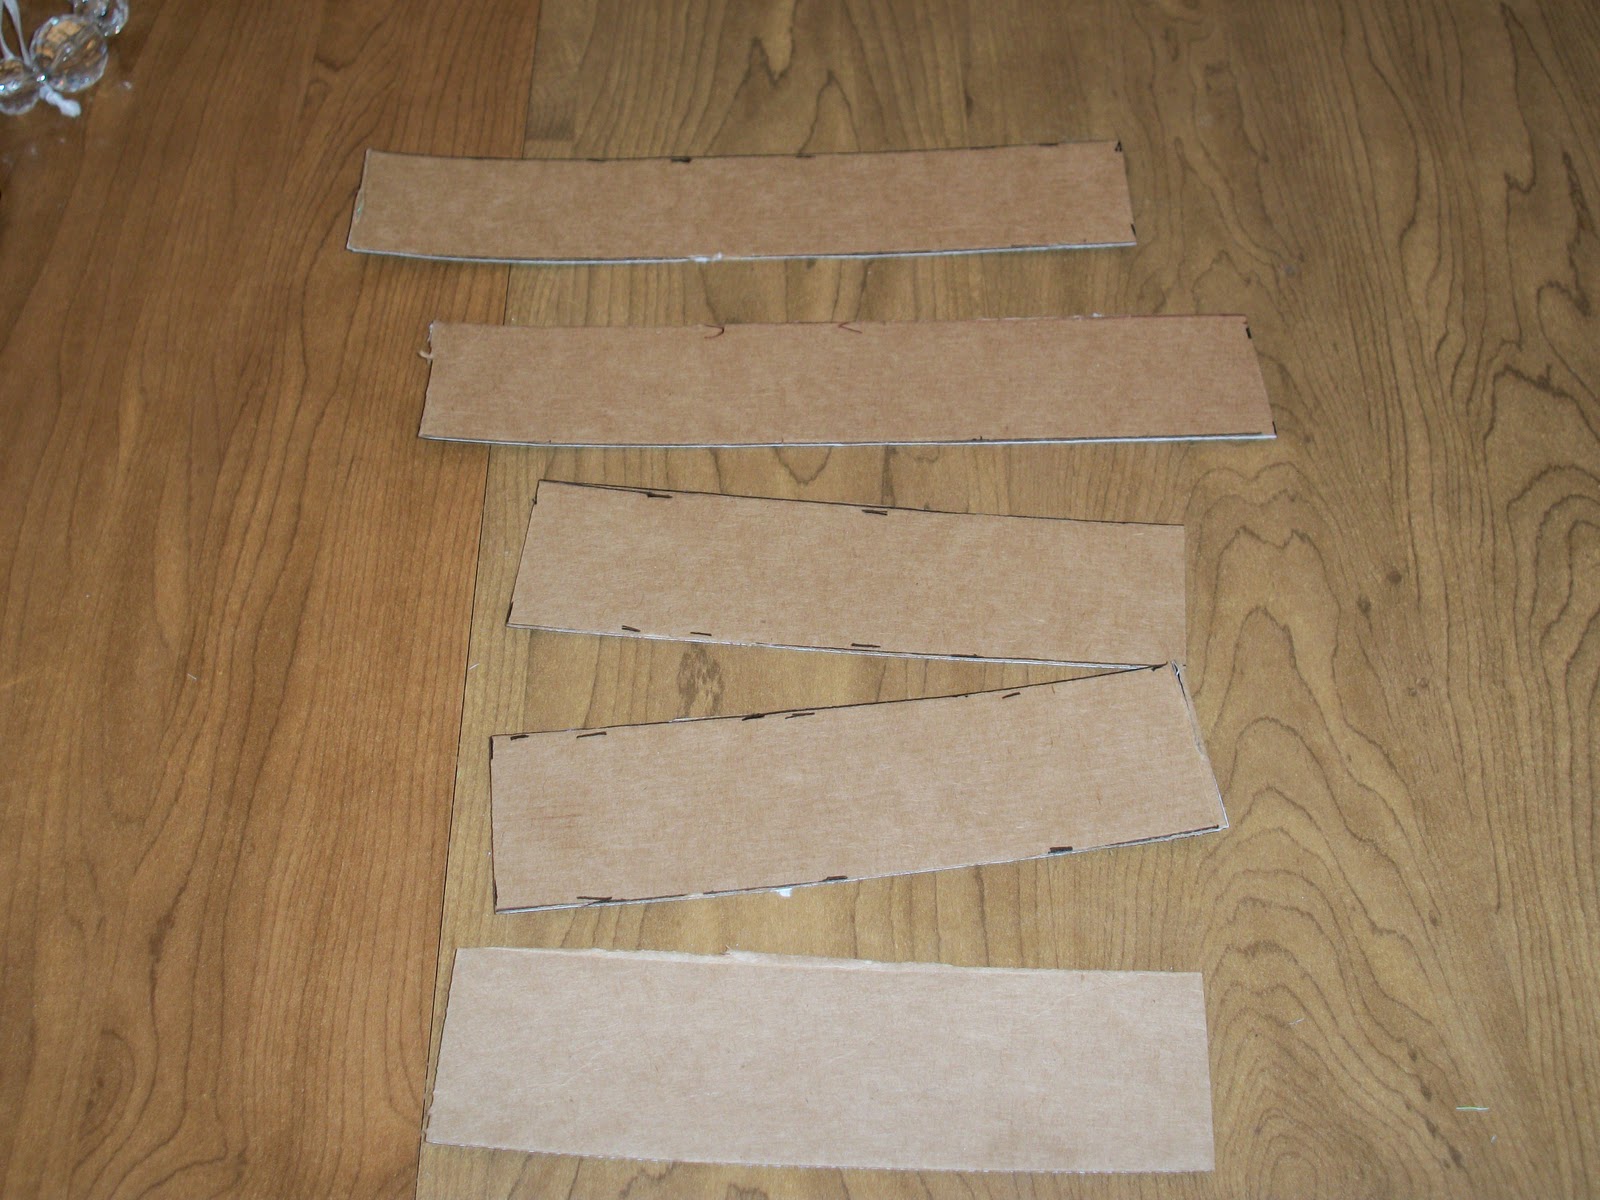
2 pieces for box length
3 pieces for box width
(or what ever the amount you chose)
Step 2
This step requires a little bit of math skills.
You need to now divided the piece of cardboard into equal sections so that your pieces will all slide together like a jigsaw puzzle.

(1 1/2" Sections for the length piece)
(1 3/4" for width piece)
Mark and cut cardboard almost to the end of strip.
Step 3
Now take all pieces and put them together to make a grid system. like so
Place in drawer to make sure that it fits.
(You may have to do some trimming due to the bowed edges of box or the box not being square)

Step 4 (optional)
If you would like you can also add another piece of cardboard to the bottom of you grid so that you are not taping the grid directly to your jewelry box.
Just measure out the length and width of your box. (or use previous measurement) Cut cardboard to size and place in bottom of box.

Grid with out cardboard on bottom

Grid with cardboard on bottom
Step 5
Now that you have everything put together the fun begins. Tape down sections of grid to make stay in place and fill your new organized box with all your beautiful necklaces, bracelets, earrings or whatever you heart desires.
For the last little bit of fun I also added paper to the box to make it look pretty.
Such as this blog shows
(3rd to last photo)
Hope you have fun organizing your nick-nacks> remember to Smile
Caitlyn